Scientific Illustration AI

AI Scientific Illustration Generator

Draw the thing itself, not a schematic of it: botanical plates, anatomical studies, specimen drawings, cutaways and stippled line art, with form, depth and surface rendered the way a scientific illustrator would. Name the subject, the view and the technique.

Botanical and anatomicalStipple, hatch and plate stylesNamed views and cutaways

AI Scientific Illustration Generator

Name the subject, the view, the technique and the light direction.

651 / 2000 characters

Generate a publication-ready PNG from your description.

Preview

Scientific Illustration Examples

Target aspect ratio: 3:4

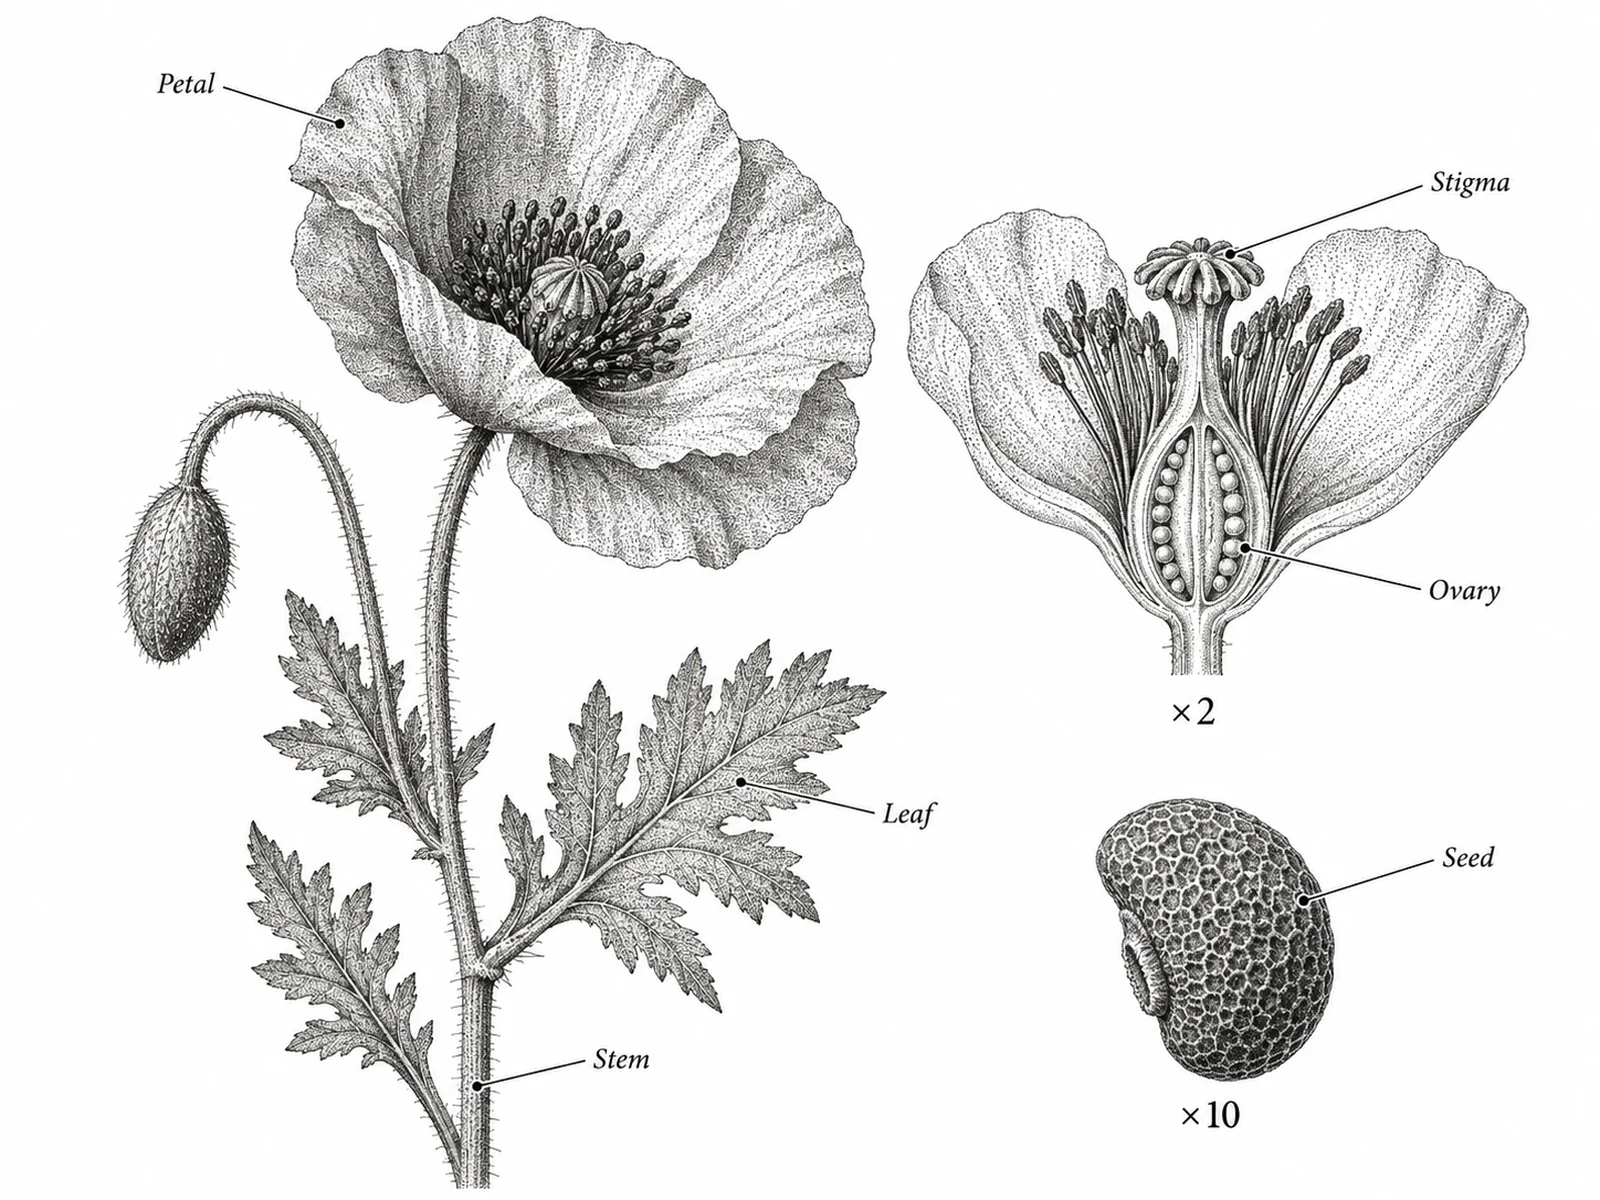
Classical botanical plate of a flowering stem in stippled ink with dissected flower section and seed detail drawn at stated magnifications
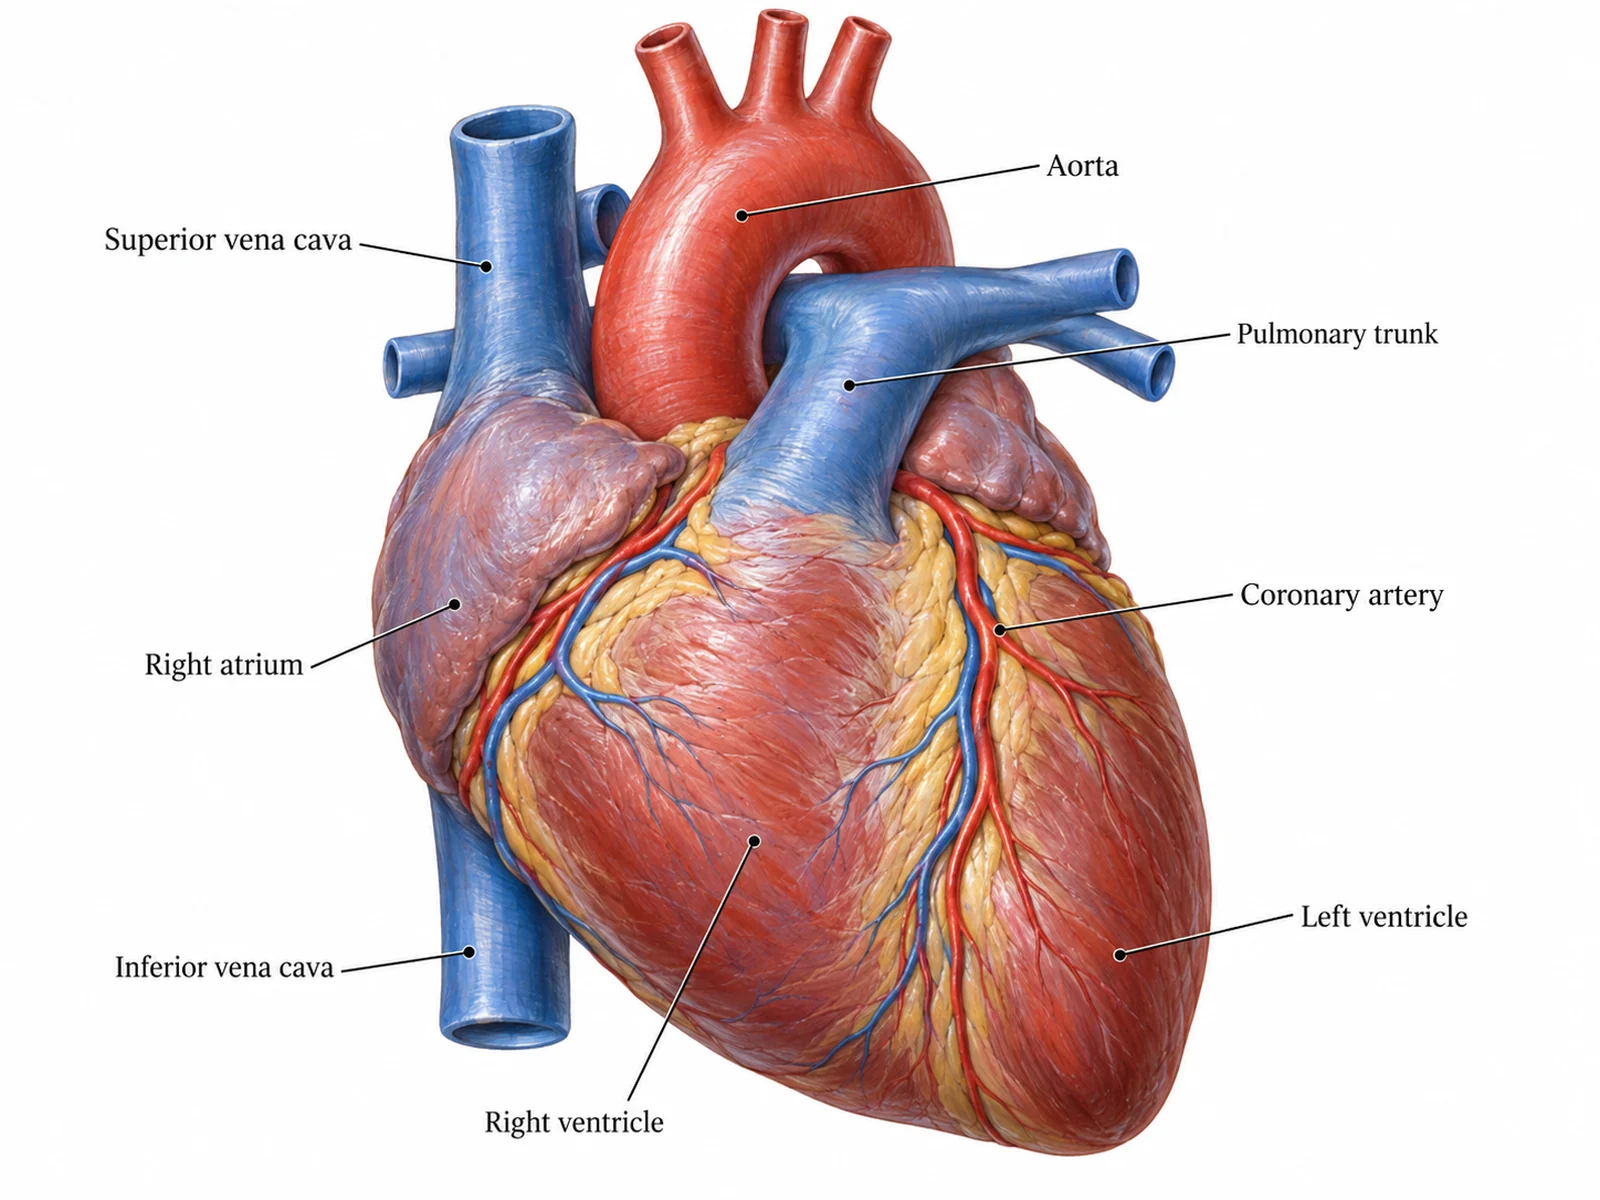
Rendered anatomical illustration of a human heart in anterior view with modelled volume, consistent lighting and labelled structures on straight leader lines
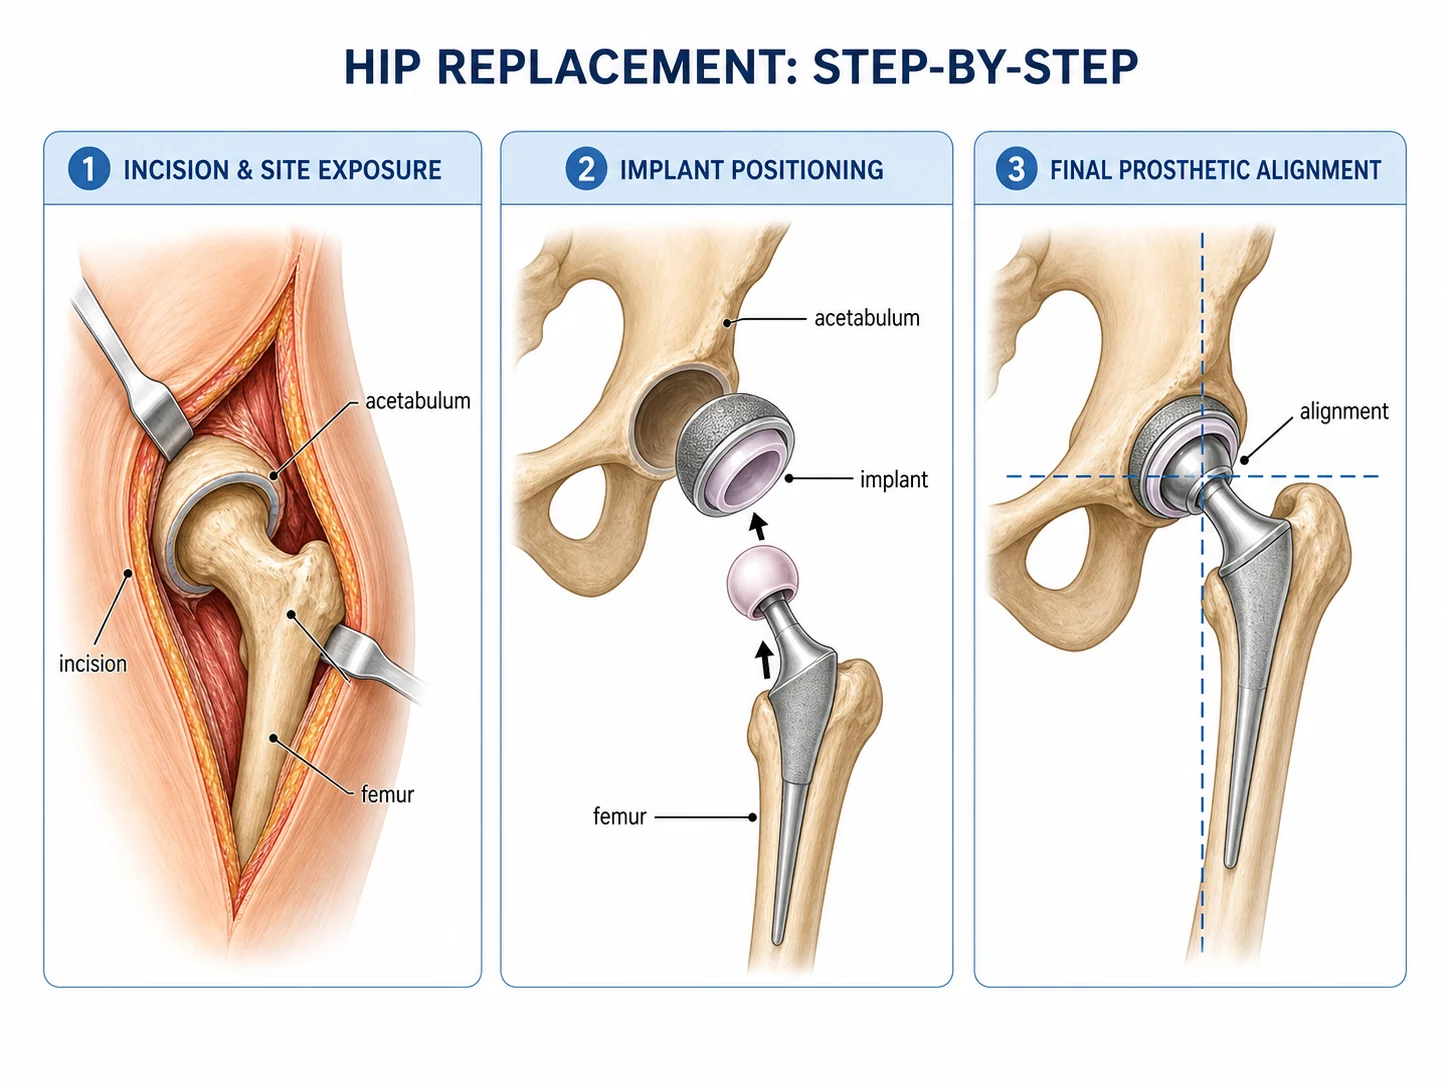
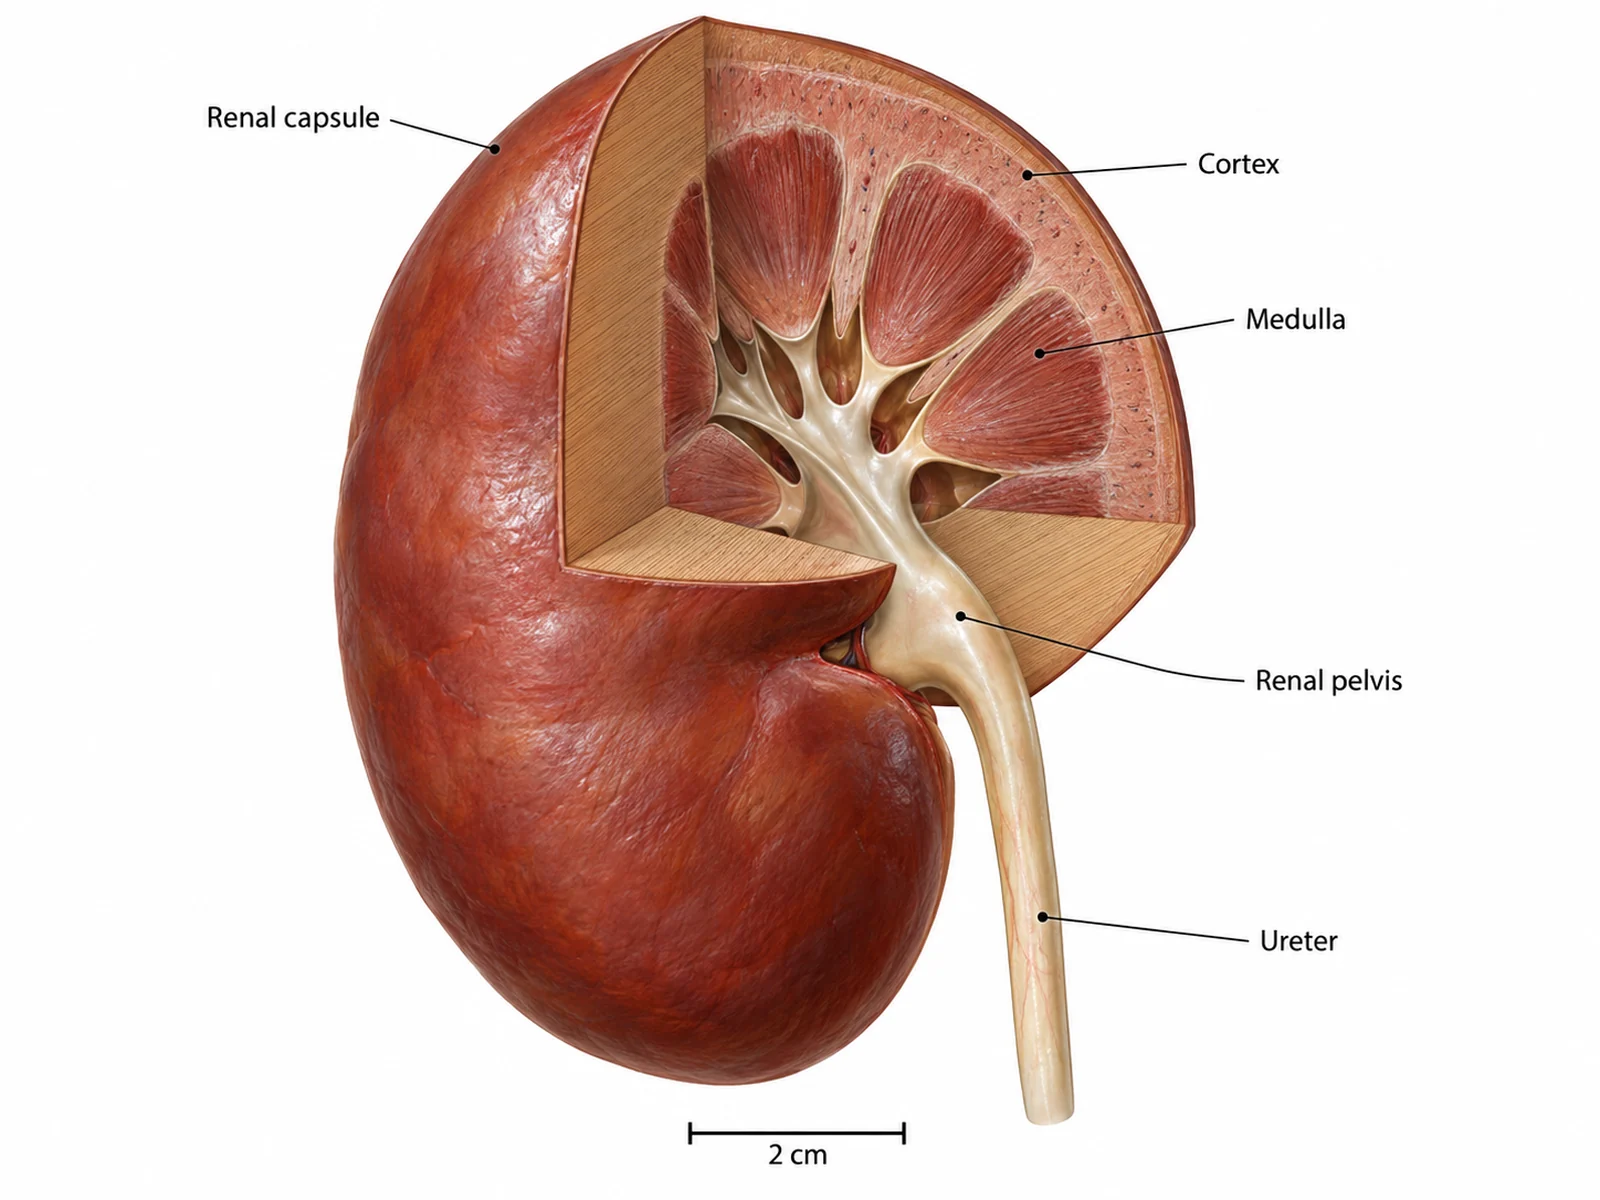
Cutaway illustration with a quarter of the structure removed along one clean plane, cut faces shaded differently from outer surfaces

Sample previews. Describe your illustration to generate your own.

Scientific Illustration Examples

Six illustration styles with the prompt that produced each: botanical plates, anatomical studies, cutaway sections, specimen drawings, pure stipple line art, and rendered microscopic structures.

Classical botanical plate of a flowering stem in stippled ink with dissected flower section and seed detail drawn at stated magnifications

Prompt

Create a classical botanical illustration plate on a plain white background. Draw one flowering stem in three-quarter view as the main subject, rendered in fine stippled ink so the leaves and petals carry believable volume, with light falling consistently from the upper left. Show leaf venation and the leaf margin clearly enough to key the plant, and draw the stem, node and leaf attachment accurately. To the right of the main subject, place two dissected details at a larger scale: a longitudinal section through the flower showing the ovary, and one seed in profile, each with its magnification written beneath it as a multiplier. Label the main parts with thin straight leader lines and small italic type, none crossing. No colour, no background, no border.
Rendered anatomical illustration of a human heart in anterior view with modelled volume, consistent lighting and labelled structures on straight leader lines

Prompt

Create a scientific anatomical illustration of a human heart in anterior view on a plain white background. Render the organ with modelled volume and soft shading so the chambers, the great vessels and the coronary vessels read as three-dimensional forms, with light from the upper left and no cast shadow on any surface. Keep the proportions and vessel positions anatomically correct: aorta arching to the left, pulmonary trunk crossing in front of it, superior and inferior vena cava entering the right atrium. Use restrained anatomical colour — muted reds for oxygenated vessels, muted blues for deoxygenated — and label the major structures with small type on thin straight leader lines outside the organ, no line crossing another.

Cutaway illustration with a quarter of the structure removed along one clean plane, cut faces shaded differently from outer surfaces

Prompt

Create a cutaway scientific illustration on a plain white background. Draw the subject as a solid three-dimensional form with one quarter removed along two clean perpendicular planes, so the interior is exposed while the outer surface is still readable. Shade the cut faces with a distinctly different treatment from the outer surfaces — flat tone or hatching on the cut, modelled shading outside — so a reader can tell instantly what has been sliced and what is being seen from outside. Keep one light direction across the whole drawing. Label the internal structures with small type on thin straight leader lines, and add a scale bar with its length stated. No background, no scene, no decorative elements.

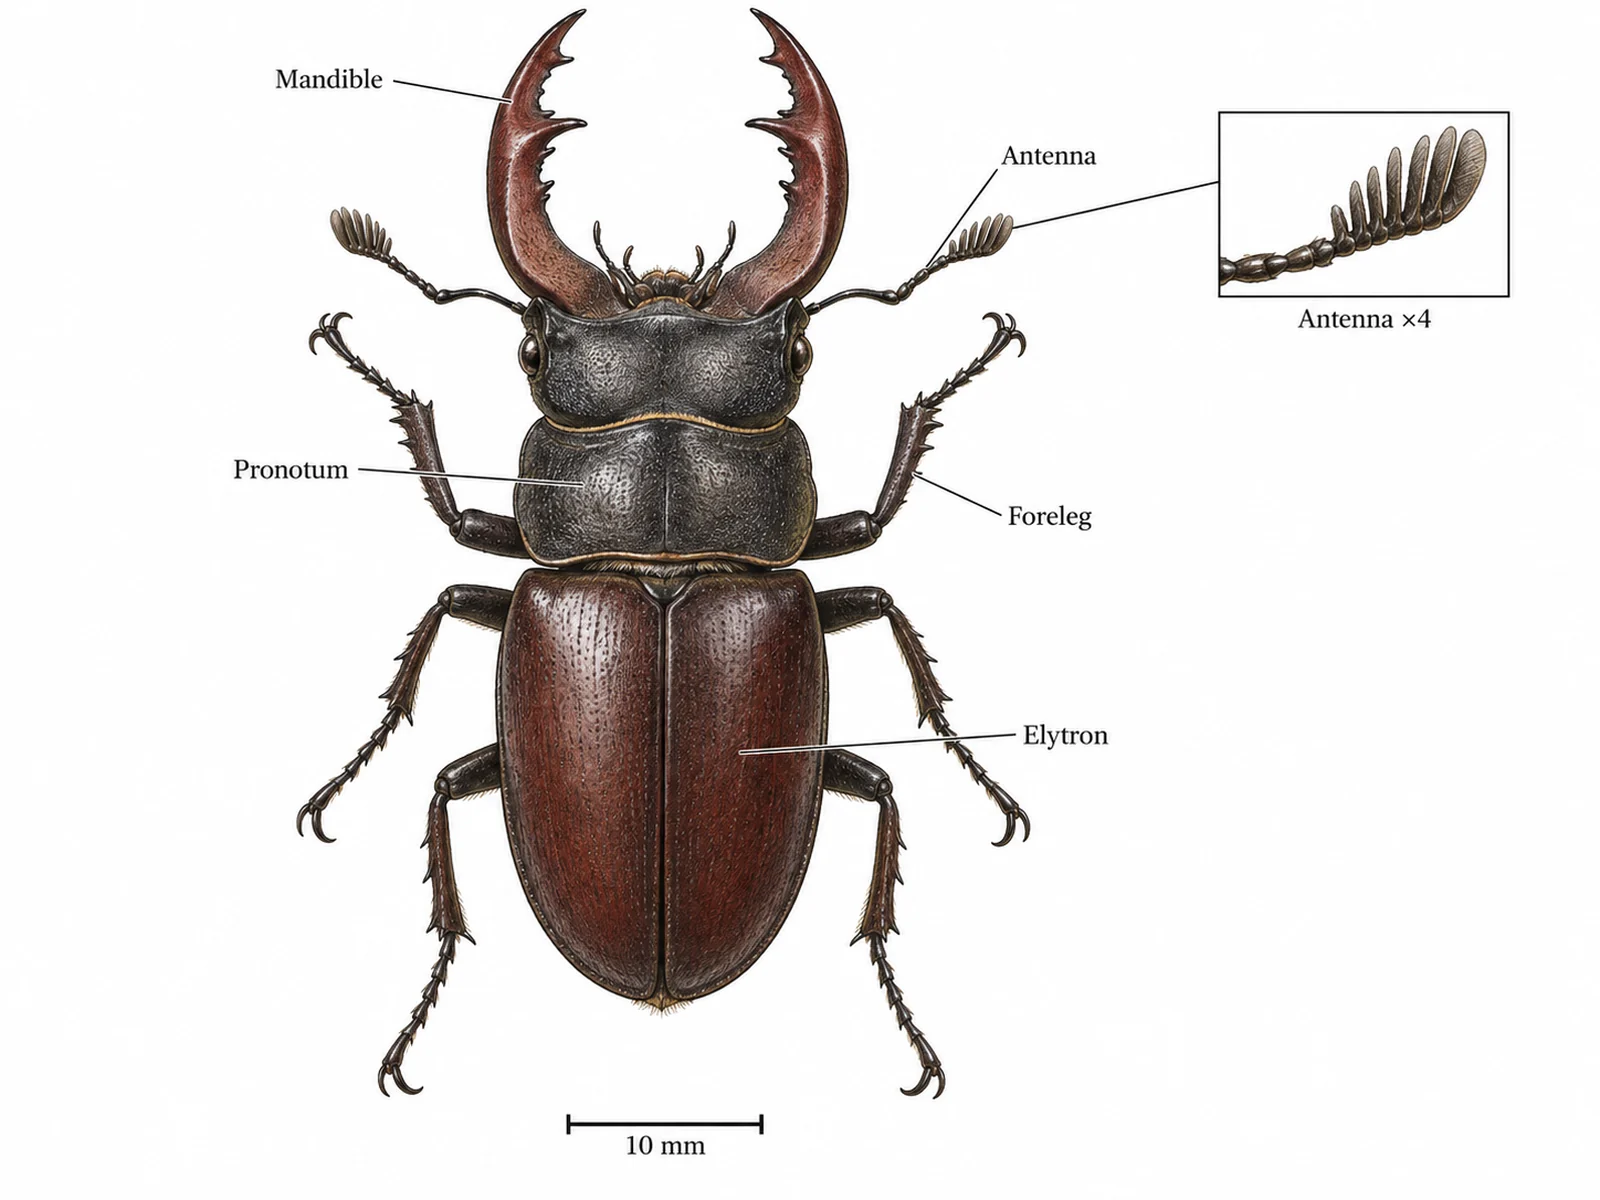
Field-guide style specimen illustration in dorsal view with a scale bar and enlarged detail of a diagnostic feature

Prompt

Create a field-guide style specimen illustration on a plain white background. Draw one whole organism in strict dorsal view, flat to the viewer with no perspective foreshortening, rendered with fine line work and light hatching so the surface texture and segmentation are visible. Keep every proportion and every count correct — the number of limbs, segments and appendages must match the real animal. Place a scale bar beneath the specimen with its length written out. Beside it, draw one enlarged detail of a diagnostic feature at a stated magnification, boxed and joined to its position on the specimen by a thin leader. Label parts in small type outside the drawing on straight lines that do not cross.

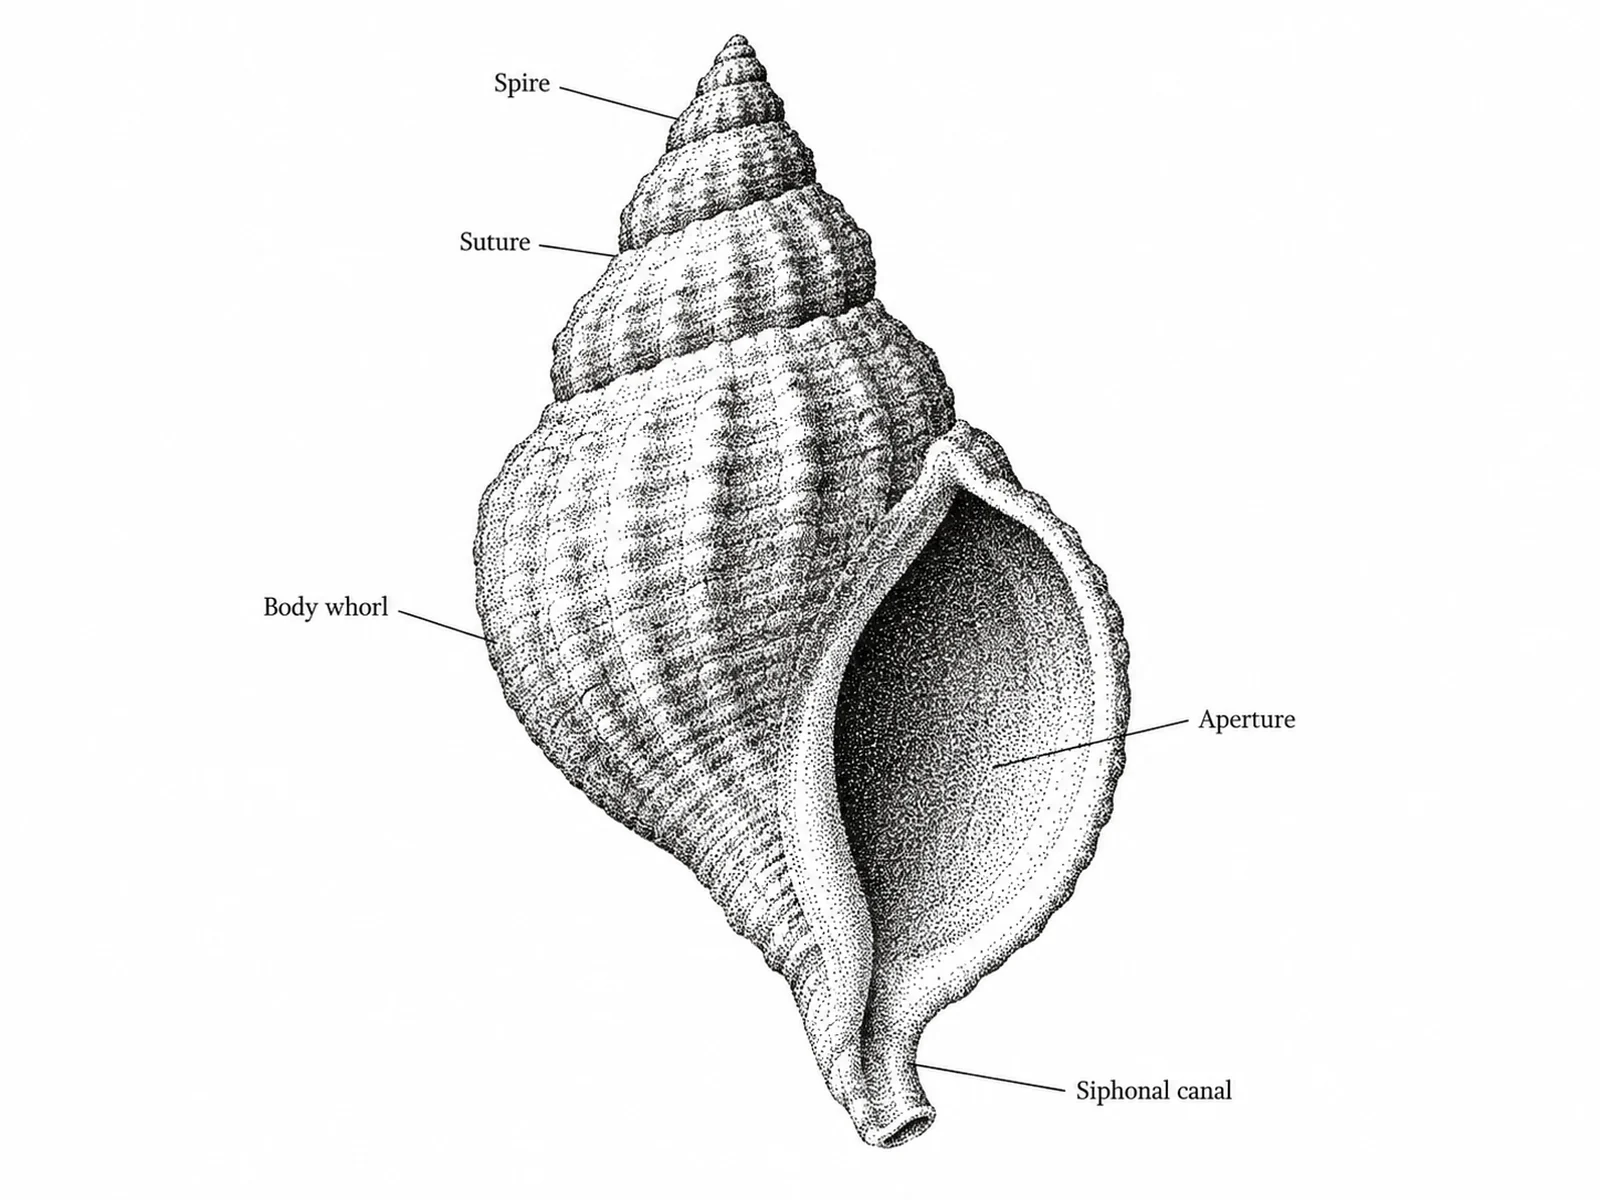
Pure black and white stippled illustration where tone is built entirely from dot density, with no grey fills or outlines shading the form

Prompt

Create a scientific illustration in pure stipple technique on a white background: black ink dots only, no grey fills, no gradients, no cross-hatching. Build every tone from dot density alone, dense where the form turns away from the light and sparse where it faces the light, with one light direction from the upper left throughout. Keep outlines minimal so the form is described by the stipple rather than by a drawn edge. This must reproduce cleanly in one-bit black and white at any size, so keep dots distinct and avoid areas so dense they will fill in when printed small. Label with small serif type on thin straight leader lines. No colour anywhere.

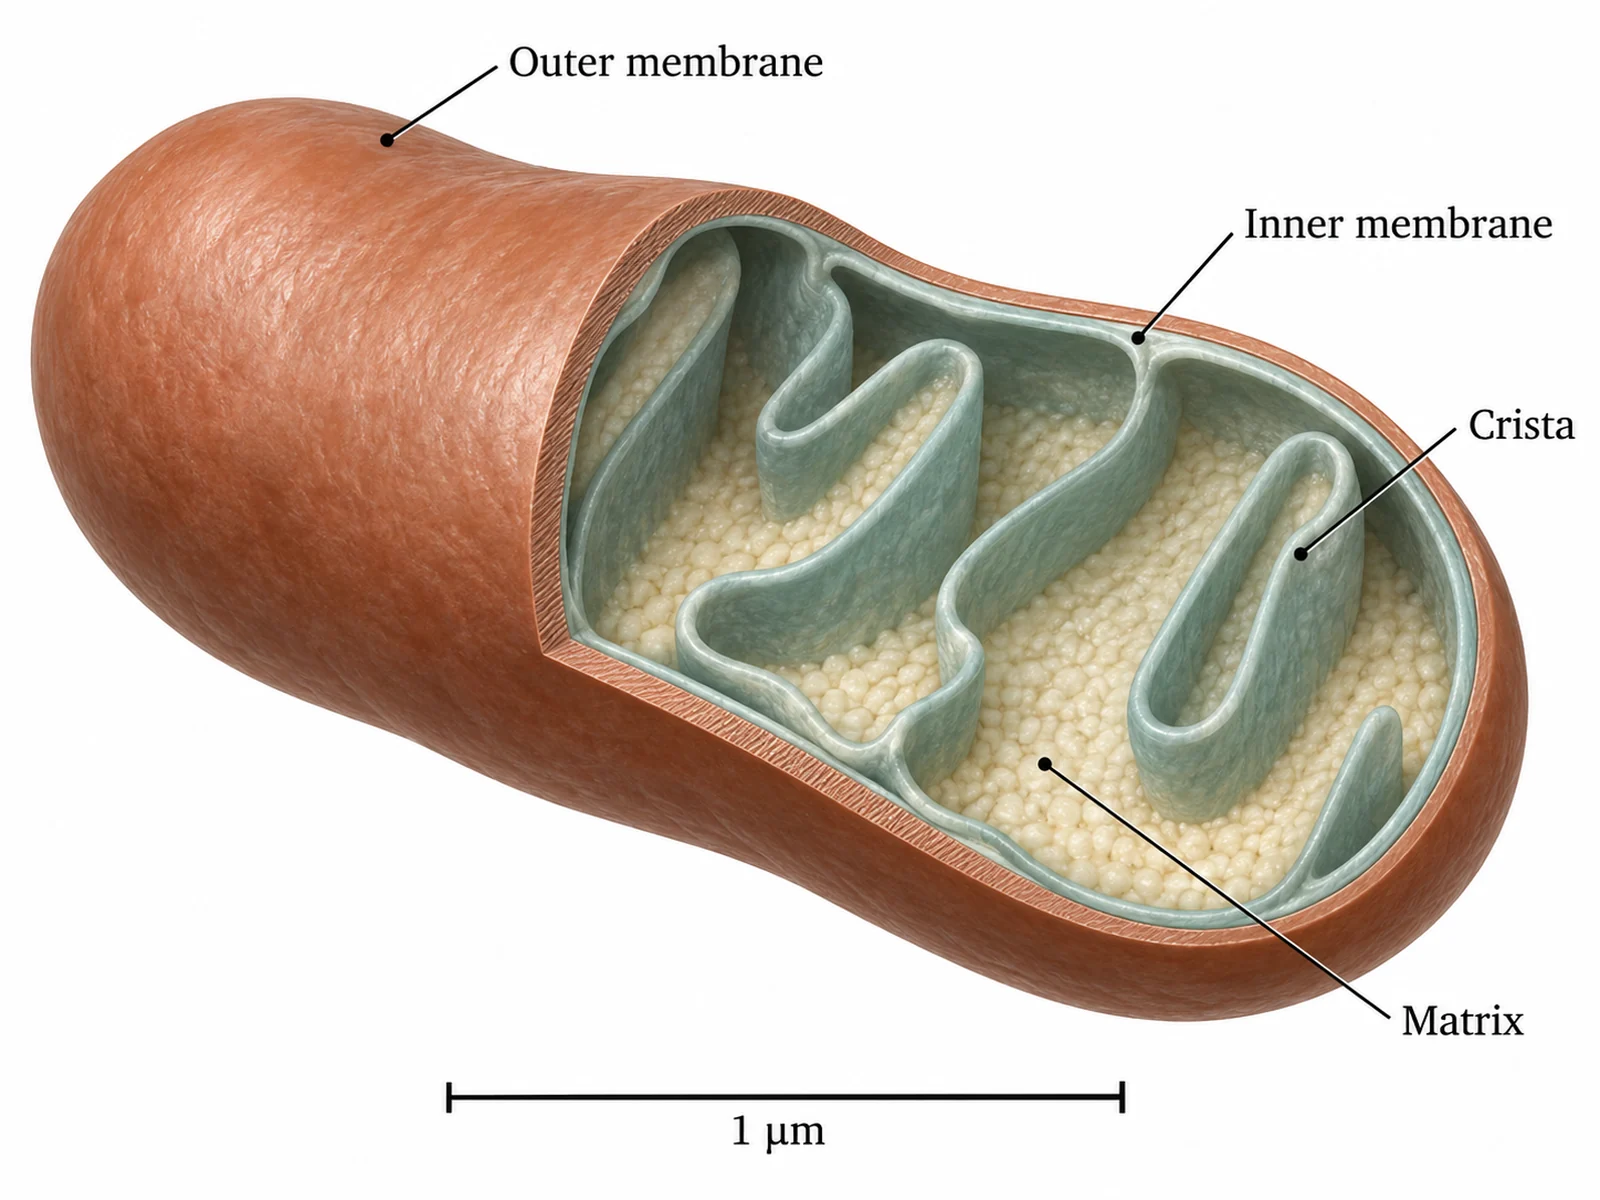
Illustration of a microscopic structure rendered with depth and surface texture rather than as a flat schematic, with a scale bar in micrometres

Prompt

Create a scientific illustration of a microscopic structure on a plain white background, rendered as a three-dimensional object rather than a flat schematic: give the membranes thickness, the surfaces texture, and the whole form depth through consistent shading from one light direction. Cut the structure open along one plane so the interior organisation is visible, and shade the cut faces differently from the outer surface. Use a restrained palette of two or three muted colours and distinguish components by form and texture as well as by colour, so the illustration still reads in greyscale. Add a scale bar labelled in micrometres. Label the main components with small type on thin straight leader lines outside the structure, none crossing.

How to get a usable scientific illustration

1

Name the subject precisely

Give the species, the structure or the specimen by name, not by category. "A leaf" returns a generic leaf; naming the plant, the margin type and the venation returns something you can check against a key.

2

State the view and the technique

Say dorsal, lateral, sagittal or transverse, and say stipple, hatching, engraving, watercolour plate or graphite. Leaving either unstated is how a specimen drawing comes back as a three-quarter render with a habitat behind it.

3

Verify against a reference, then export

Check counts, proportions and the structures you can name against a source you trust — a generator renders something plausible where it does not know. Then download the PNG at the aspect ratio you will place.

What scientific illustration is for

Photography records everything in front of the lens, including the parts that obscure the subject. Illustration exists because a drawing can do what a photograph cannot: remove what is in the way, show several states at once, and idealise a specimen into the form the species actually takes.

  • It removes obstruction. A cutaway shows an interior that no camera angle reaches without destroying the specimen.
  • It idealises. One drawn specimen can represent the species, with damage, dirt and individual variation left out — something a photograph of one individual cannot do.
  • It combines states. A botanical plate can show flower, fruit, seed and leaf together, though they never occur at the same moment.
  • It controls emphasis. Structures that matter are drawn sharply, context is drawn lightly, and nothing competes with the point.
  • It survives reproduction. Stipple and hatched line art print cleanly at any size and in one-bit black and white, which is why the techniques outlived the technology that required them.

Illustration, diagram, figure

The three words are used interchangeably in conversation and mean different things in practice. Choosing the wrong one is the usual reason a request comes back looking nothing like what was wanted.

  • An illustration depicts a thing as it appears: form, depth, surface, correct proportions. That is this page.
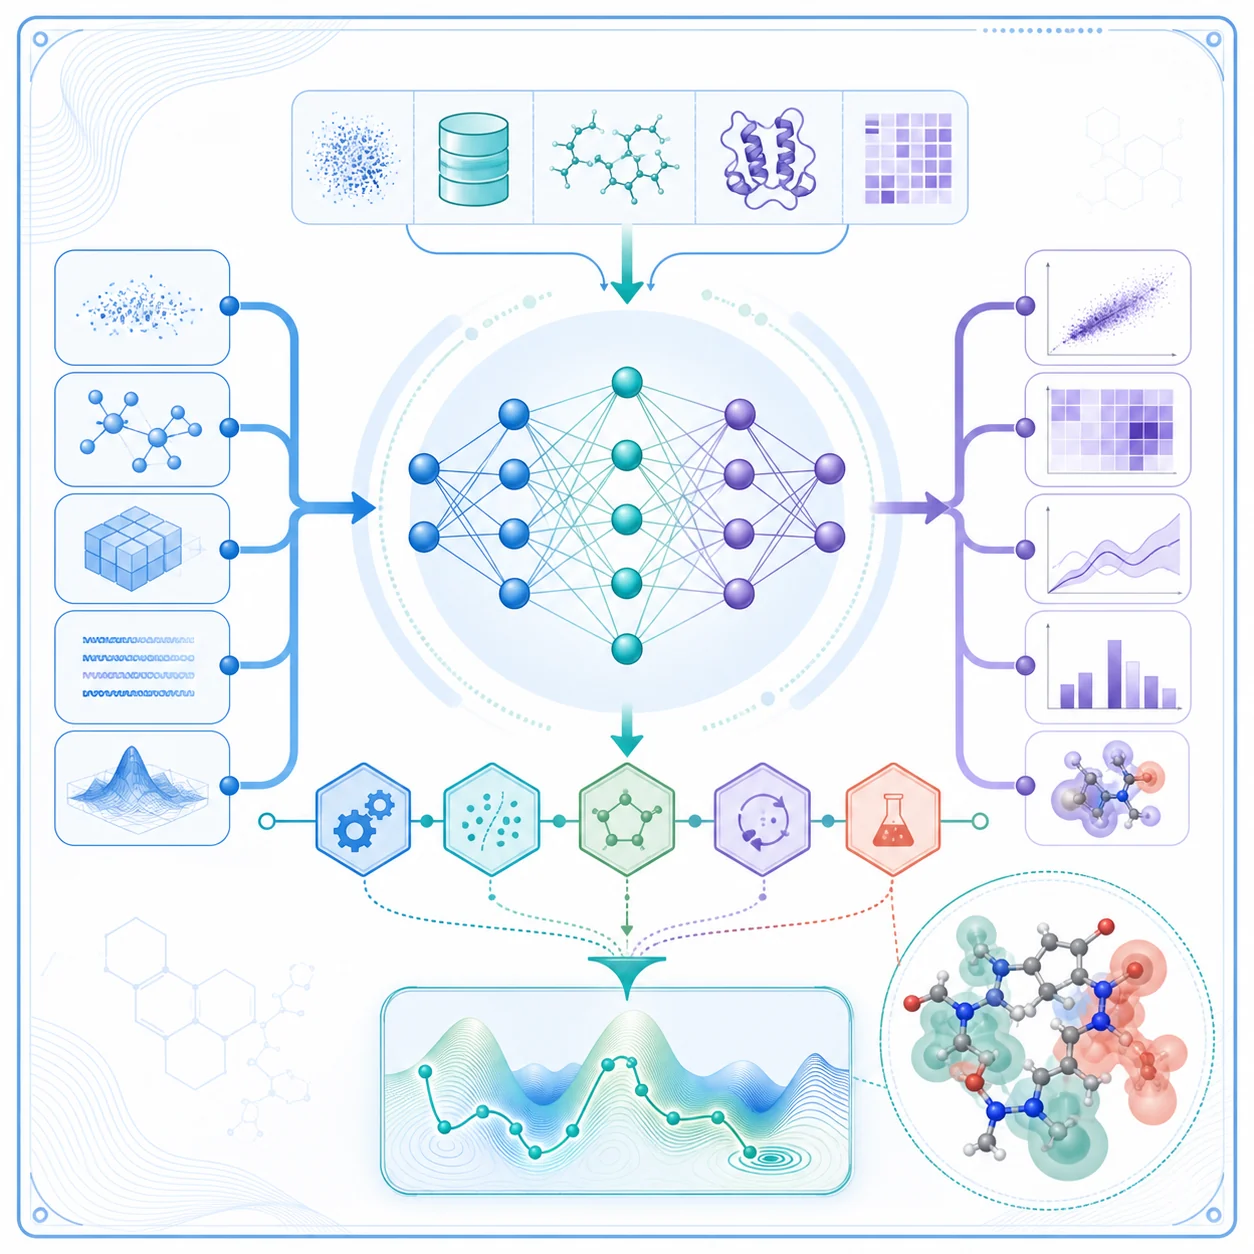
  • A diagram depicts relationships: boxes, arrows, labels, no attempt at appearance. The scientific diagram maker draws those.
  • A figure is the numbered item in a paper, assembled from panels that may include both. The scientific figure maker builds those.
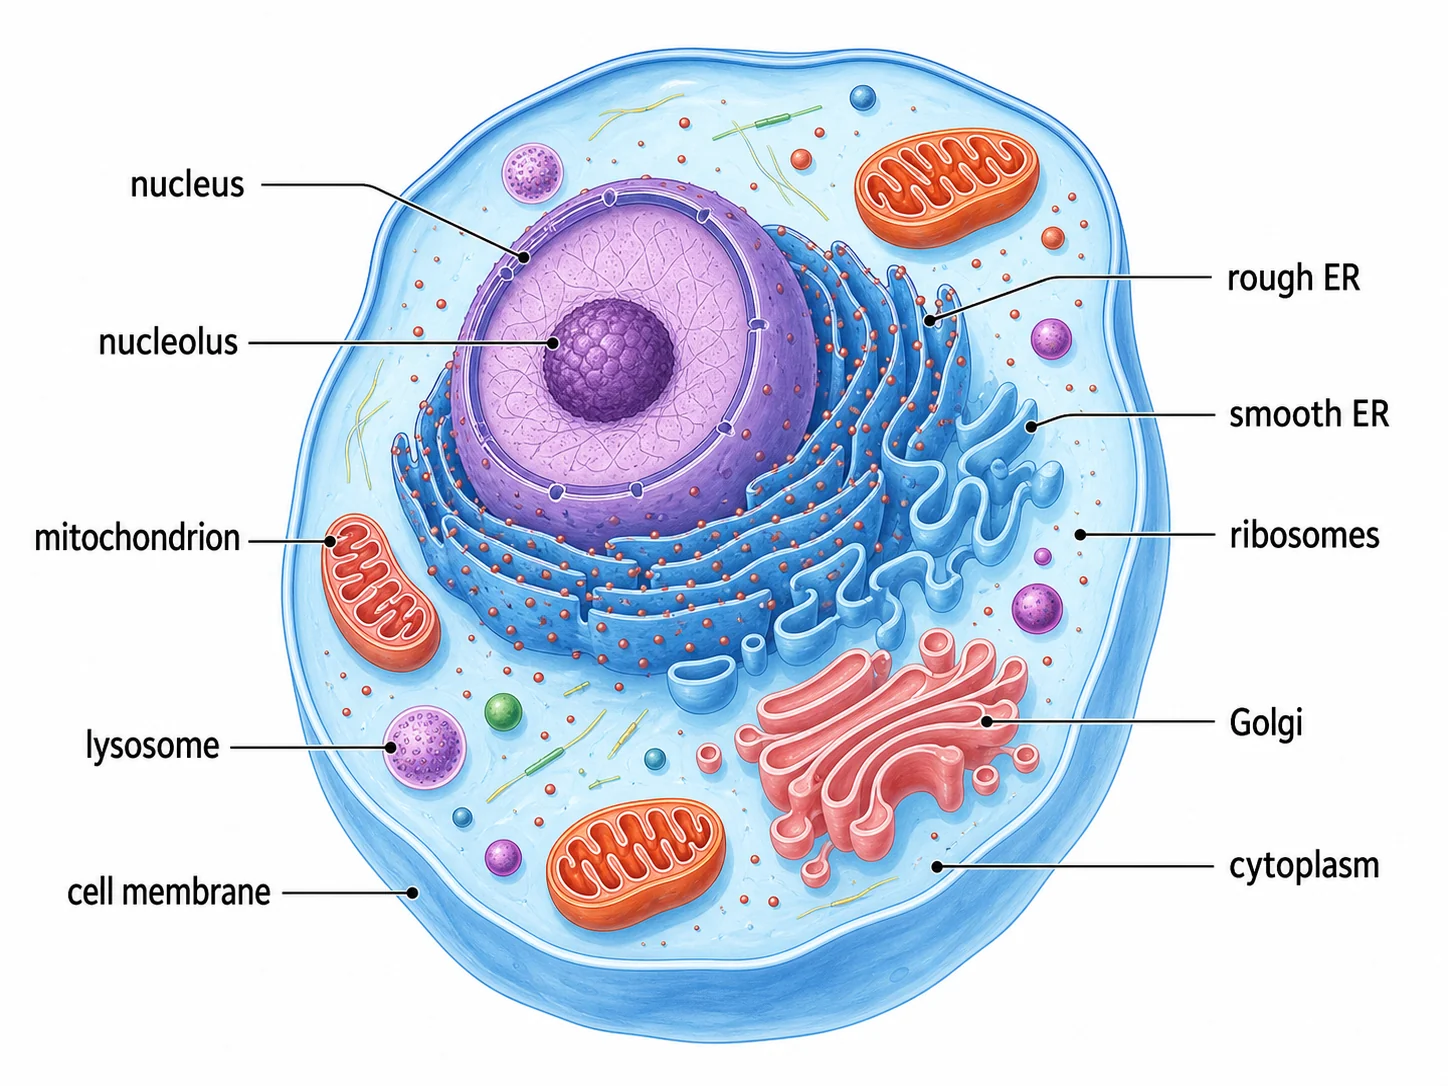
  • A heart drawn with modelled chambers is an illustration. The same heart drawn as four boxes with flow arrows is a diagram. Both in one numbered panel set is a figure.

Describing a view, a section and a scale

Three things decide whether an illustration is scientifically usable, and all three have to be stated rather than assumed.

  • The view. Dorsal is from above, ventral from below, lateral from the side, anterior from the front, posterior from behind. Say which, and say whether perspective is wanted or the subject should be flat to the viewer.
  • The section plane. Sagittal divides left from right, transverse cuts across, longitudinal runs along the length. A section with no stated plane is not interpretable.
  • The scale. Either a scale bar with its length written out, or a stated magnification. An illustration of something microscopic with no scale reference tells the reader nothing about size.
  • Cut faces must look different from outer surfaces. Flat tone or hatching on the cut against modelled shading outside is the convention, and without it a reader cannot tell what has been sliced.

What a generator can and cannot do here

This is the area where an image model is most impressive and least reliable at the same time, so it is worth being blunt about the line.

  • Good use: drafts, teaching material, slides, grant illustrations, posters, and exploring a composition before commissioning the real thing.
  • Good use: style studies. Generating the same subject as stipple, as hatched line art and as a watercolour plate is a fast way to decide what a project should look like.
  • Weak: exact counts and diagnostic features. A generator renders something plausible where it does not know, so segment counts, petal numbers, vessel branching and anything used to identify a species all need checking against a reference.
  • Weak: novel or rare subjects. The less common the specimen, the more the output is an average of things that look similar rather than the thing itself.
  • Not a replacement for a trained scientific illustrator on a figure that has to be right. The hard part of that job is judgement about what to show, and that is what does not come out of a prompt.

Scientific Illustration FAQ

A drawing that shows what something looks like, made to communicate rather than to decorate. A botanical plate, an anatomical study, a specimen drawing and a cutaway of an organ are all scientific illustrations: they render form, proportion and surface so a reader can recognise the real thing, and they leave out whatever would obscure it. A photograph records everything present; an illustration shows what matters.

Need a schematic or a full figure instead?

The scientific diagram maker draws pathways, mechanisms and workflows, and the scientific figure maker assembles multi-panel figures for a manuscript.